


TL;DR
- What it is: A Jira bulk clone copies multiple Jira issues in one operation instead of duplicating them one by one.
- No native option: Jira’s built-in clone works one work item at a time, bulk cloning requires a Marketplace app such as Elements Copy & Sync.
- Scale: With Elements Copy & Sync you can bulk clone Jira issues from the issue navigator, up to 1,000 at a time.
- Stay in sync: Jira issue sync keeps chosen fields (status, assignee, custom fields) aligned between the original and its clones.
- Best for: Repetitive project management in Jira — onboarding checklists, recurring releases, and replicating task structures across teams.
A Jira bulk clone lets you copy many work items in a single operation instead of recreating each one by hand. Native Jira has no built-in bulk clone action, so teams use an app like Elements Copy & Sync to clone multiple Jira issues at once, decide which fields carry over, and link every clone back to its source. You can also keep the copies synchronized, so an update to the original work item flows automatically to its clones. This is useful for repetitive structures such as onboarding checklists, recurring releases, or duplicating a task layout across several teams or departments.
What is bulk cloning in Jira?
Bulk cloning means creating copies of one or more Jira issues simultaneously, rather than duplicating them individually. It is most useful for repetitive setups, spinning up similar projects, replicating a standard task structure for multiple teams, or rolling out the same checklist every sprint. The payoff is twofold: it saves time and it keeps work items consistent across your project management in Jira.
Can you bulk clone issues natively in Jira?
Not directly. Jira’s standard clone action duplicates one work item at a time, and the bulk-change screen does not include a true clone operation that preserves links, custom fields, and structure. To bulk clone Jira issues in a single pass, you need an app from the Atlassian Marketplace. If you want a refresher on the manual approach first, see how to clone issues in Jira natively (and its limitations).
Why use Elements Copy & Sync for bulk cloning?
Elements Copy & Sync duplicates work items and links them together in the same action. Changes made to the original can then be synchronized to its clones, which keeps data consistent and removes manual rework, especially valuable in fast-moving environments where the source work item changes often.
How do you bulk clone Jira issues with Elements Copy & Sync?
You can bulk clone Jira issues directly from the issue navigator in four steps:
- Select the issues: Start by selecting the issues you want to clone. This can be done from the issue navigator by applying the appropriate filters.

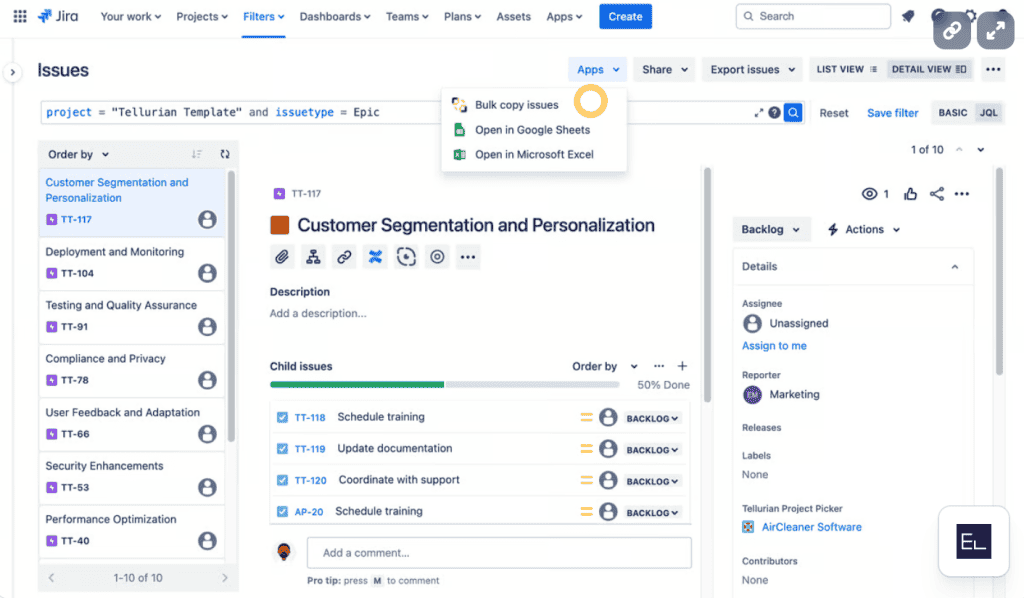
- Clone and link: With Elements Copy and Sync, you can choose to clone issues directly from the issue view or through bulk change options. During cloning, specify the link type to establish a connection between the original and cloned issues.
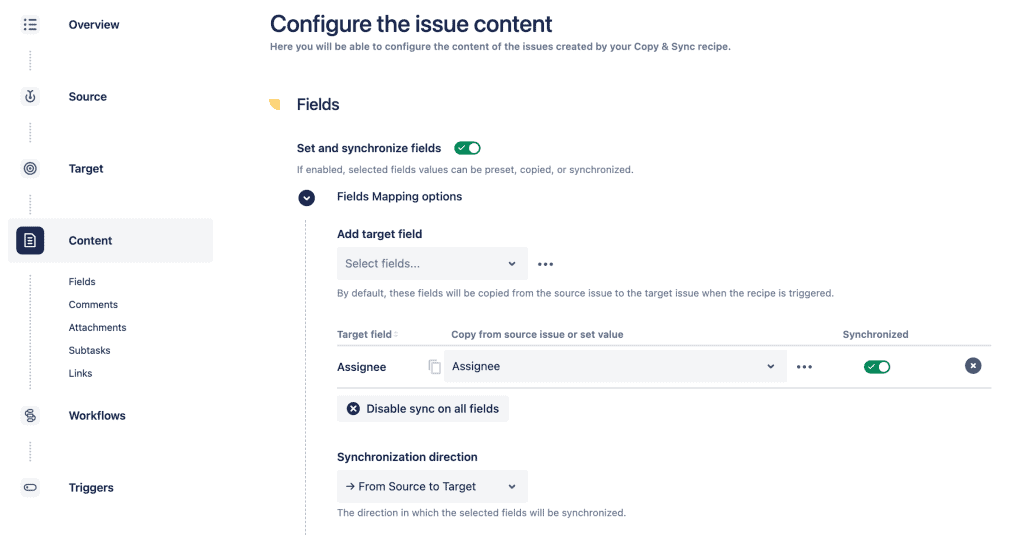
Configure synchronization: Begin by defining the synchronization settings. Prior to cloning, choose which fields, including status, assignees, and any custom fields, should be synchronized between the original and its clones. This setup is crucial to ensure that any updates to the original issue are automatically mirrored in the clones, maintaining consistency across your projects.
- Execute and verify: Once configured, execute the cloning process. After cloning, it’s important to verify that all issues are linked correctly and that synchronization settings are applied.
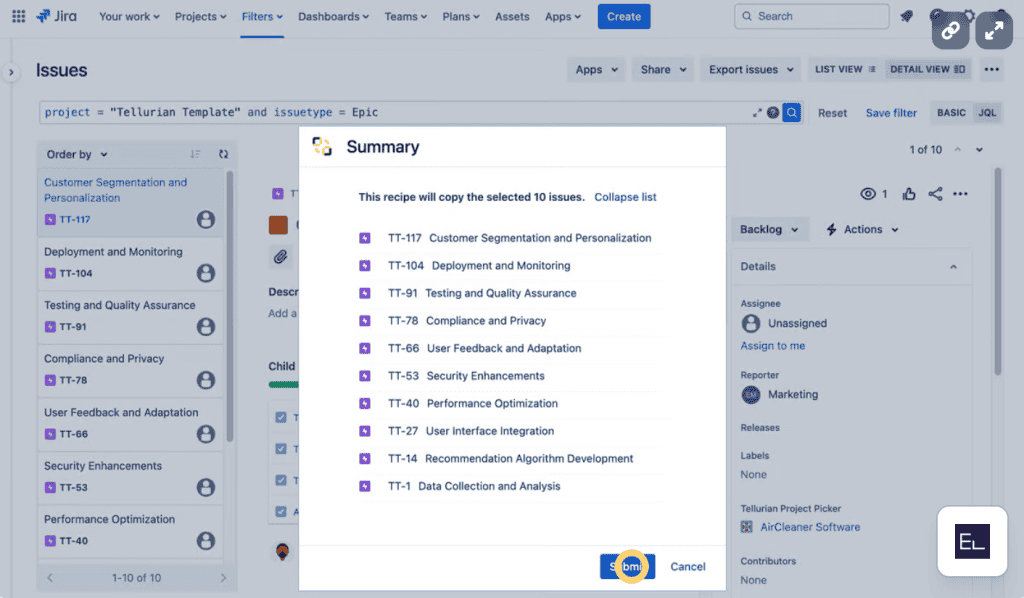

You can repeat this process at scale. The documentation covers how to bulk copy up to 1,000 Jira issues at once
Prefer to watch? There’s a video tutorial on how to bulk clone Jira issues
What can you keep in sync between cloned Jira issues?
This is where bulk cloning differs from a one-off copy. With Jira issue sync, you select the fields that should stay aligned after cloning; commonly, status, assignee, priority, and custom fields. When the original work item changes, the linked clones update to reflect the change, so a single source of truth drives every copy. You decide the scope: sync everything for tightly coupled work, or only a few fields when clones should evolve independently.
What are the best practices for a clean Jira bulk clone?
- Plan before you clone: Be clear on why and what you are cloning; this drives which fields you set up for synchronization.
- Clean the source first: Remove outdated or irrelevant data from the original work items before cloning to avoid carrying clutter into every copy.
- Use meaningful link types: Pick a link type that reflects the real relationship between original and clone, such as “is cloned by.”
- Document your sync rules: Write down which fields are synced and why, and keep that note updated as your workflow evolves.
What common bulk clone problems should you watch for?
- Performance during large runs. Cloning many work items at once can briefly slow Jira; schedule large operations during off-peak hours.
- Over-complex sync rules. Synchronization logic can grow tangled — keep rules documented and review them periodically so behavior stays predictable.
Frequently asked questions
How many Jira issues can you bulk clone at once?
With Elements Copy & Sync you can bulk clone Jira issues from the issue navigator, up to 1,000 at a time, which makes it practical for large recurring setups.
Will my cloned work items stay updated?
Only for the fields you choose. During setup you define which fields are synchronized; updates to the original then flow to its clones automatically, while unsynced fields remain independent.
Can I bulk clone an entire Jira project?
Yes cloning is not limited to individual work items. To duplicate a full project structure, see how to clone a project in Jira.
Bottom line
A Jira bulk clone removes the repetitive work of recreating similar work items by hand. Using Elements Copy & Sync to clone in bulk and synchronize the copies creates a connected, consistent workflow that scales with your project management in Jira. For a deeper walkthrough, read our guide on how to bulk clone Jira issues.


