
Discover Elements Copy & Sync: Your Ultimate Tool for Cloning and Synchronization in Jira
Have you explored what Elements Copy & Sync has to offer? Available on the Atlassian Marketplace, this tool is indispensable for enhancing your project management capabilities within Jira. Whether you’re looking to clone Jira projects, copy issues, or utilize Jira project templates for quick project setups, Elements Copy & Sync facilitates these tasks with ease and precision.
Why Elements Copy & Sync?
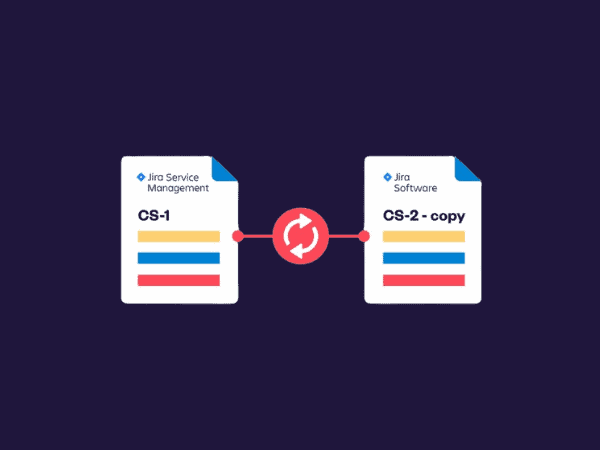
Elements Copy & Sync allows for seamless cloning and synchronization of projects and issues, ensuring that all team members have the latest updates. It’s perfect for:
- Support escalation: Enhances coordination between support and development teams by synchronizing Jira issues.
- Project synchronization: Keeps various teams aligned when working on shared projects or issues.
- Project templating: Enables the quick launching of new projects using predefined Jira project templates, making the creation of new initiatives as simple as a few clicks.
Elements Copy & Sync is your best ally to go beyond Jira cloning native features that can be limited and lacks of customs options.
Let’s see how to leverage Elements Copy & Sync for cloning an entire project effectively!
Step 1: Configure your cloning recipe
Before you can start cloning, you need to set up what we refer to as a “recipe” — a configuration within the app. This recipe specifies which issues to clone, which fields to synchronize, and where they should be mapped.
In the app section, you’ll need to create a new “Copy & Sync” recipe and to check that these options are activated:
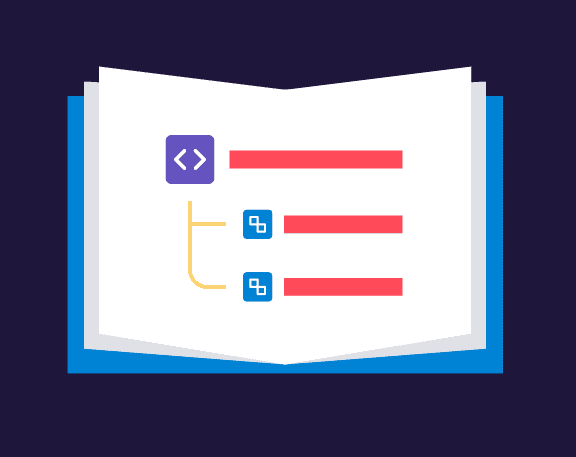
- Copy full hierarchy
- Copy all fields in the field mapping area (you can also copy attachments, comments, web links…)
- Copy subtasks
Save and activate your recipe.
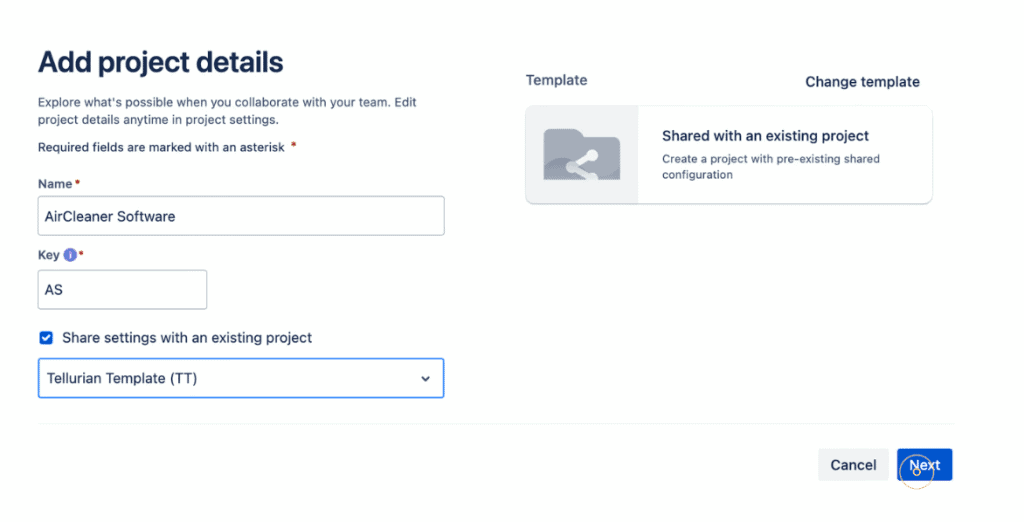
Step 2: Clone your project configuration
Let’s assume you want to clone a project named “Tellurian template” into a new project called “AirCleaner Software.” In Jira, create a new project and apply the Tellurian template’s settings. This approach clones the entire configuration of your project, saving time and reducing manual setup.
Read more about how to do bulk cloning with Elements Copy & Sync
Step 3: Use filter to locate issues and get the job done!
In your new project “AirCleaner Software,” navigate to the issue area and use a JQL query to identify the right issues for cloning.
For example if you want to clone all the epics with their child issues, you can insert this JQL query:

Once you locate these issues, activate Elements Copy & Sync with your configured recipe. The app will automatically clone the Jira issues and their child issues to the new project. This automation can be triggered manually or set up as a post-function or automated task.
Note that you can also decide to trigger your recipe with Automation or post-functions rather than with a manual action.
And that’s it, you’re all set: all your issues have been cloned with their fields and child issues.
Try Elements Copy & Sync for free
Starting a new project or managing ongoing ones in Jira doesn’t have to be complicated or time-consuming. With Elements Copy & Sync, cloning Jira projects, issues, and utilizing project templates become straightforward processes that save time and increase productivity.
Try the demo here: