


The Leading Atlassian Marketplace Partner for Data Connectivity and Experience Management
We help large organizations connect data, orchestrate workflows, and improve service experience across Jira & Jira Service Management

Trusted by 4700+ organizations worldwide


How Elements Apps enhance Jira for Enterprise teams

Data Connectivity
Bring external data into Jira with confidence
Connect Jira with your enterprise data and ensure consistency across systems and instances, enabling teams to make decisions based on complete and reliable information.

Advanced Automation
Orchestrate processes to keep teams in sync
Automate workflows, orchestrate processes, and scale operations across Jira, reducing manual work and increasing organizational efficiency.

Experience Management
Make service performance visible and measurable
Gain visibility into service performance and experience metrics to continuously improve service quality and business outcomes.

Elements Apps – ITSM Jira AND CONFLUENCE apps
Simplify ITSM Amplify Satisfaction
Trusted by Atlassian. Built for Enterprise.


Hear it from our users themselves
Elements Publish has been a game-changer for us
Elements Publish has been a game-changer for us by seamlessly automating all of our reports through an effortless click. Elements have been great to work with thanks to their prompt and flexible communication, and make it easy to discuss feedback, improvements, and requesting support to help us set things up quickly.

Cam Burridge, EU Service Desk Lead,
Toolstation
Elements Copy & Sync is a great app and saves us a lot of money
We sync issues between JSM and Jira Software. In this case we don’t need the expensive JSM agent licenses for all our employees. The support is also great, fast and good. Just what a customer need.
Yorick Dijk,
Service Manager,
EDSN
This app is incredibly useful for us
I like that it is not overloaded or overcomplicated. It simply does what its name suggests by letting you define rules that COPY and SYNC Jira issues as you want. It’s very easy to configure, too. We have been using it for a couple of years and created over 25.000 work items effortlessly with the help of Elements Copy & Sync.
Jann Boumann
Amagoo
Elements Connect works pretty well
Support is responsive and helpful. The Plugin works pretty well so far. Pricing seems pretty fair to boot!
Andrew Adrian, Engineer,
Curinos
The Atlassian-recommended Marketplace Partner for Service Management


Recognized by Atlassian for Service Management excellence
We were awarded High Velocity Service Management Apps Partner of the Year in 2025, reinforcing our credibility as a mission-critical vendor for modern ITSM use cases.
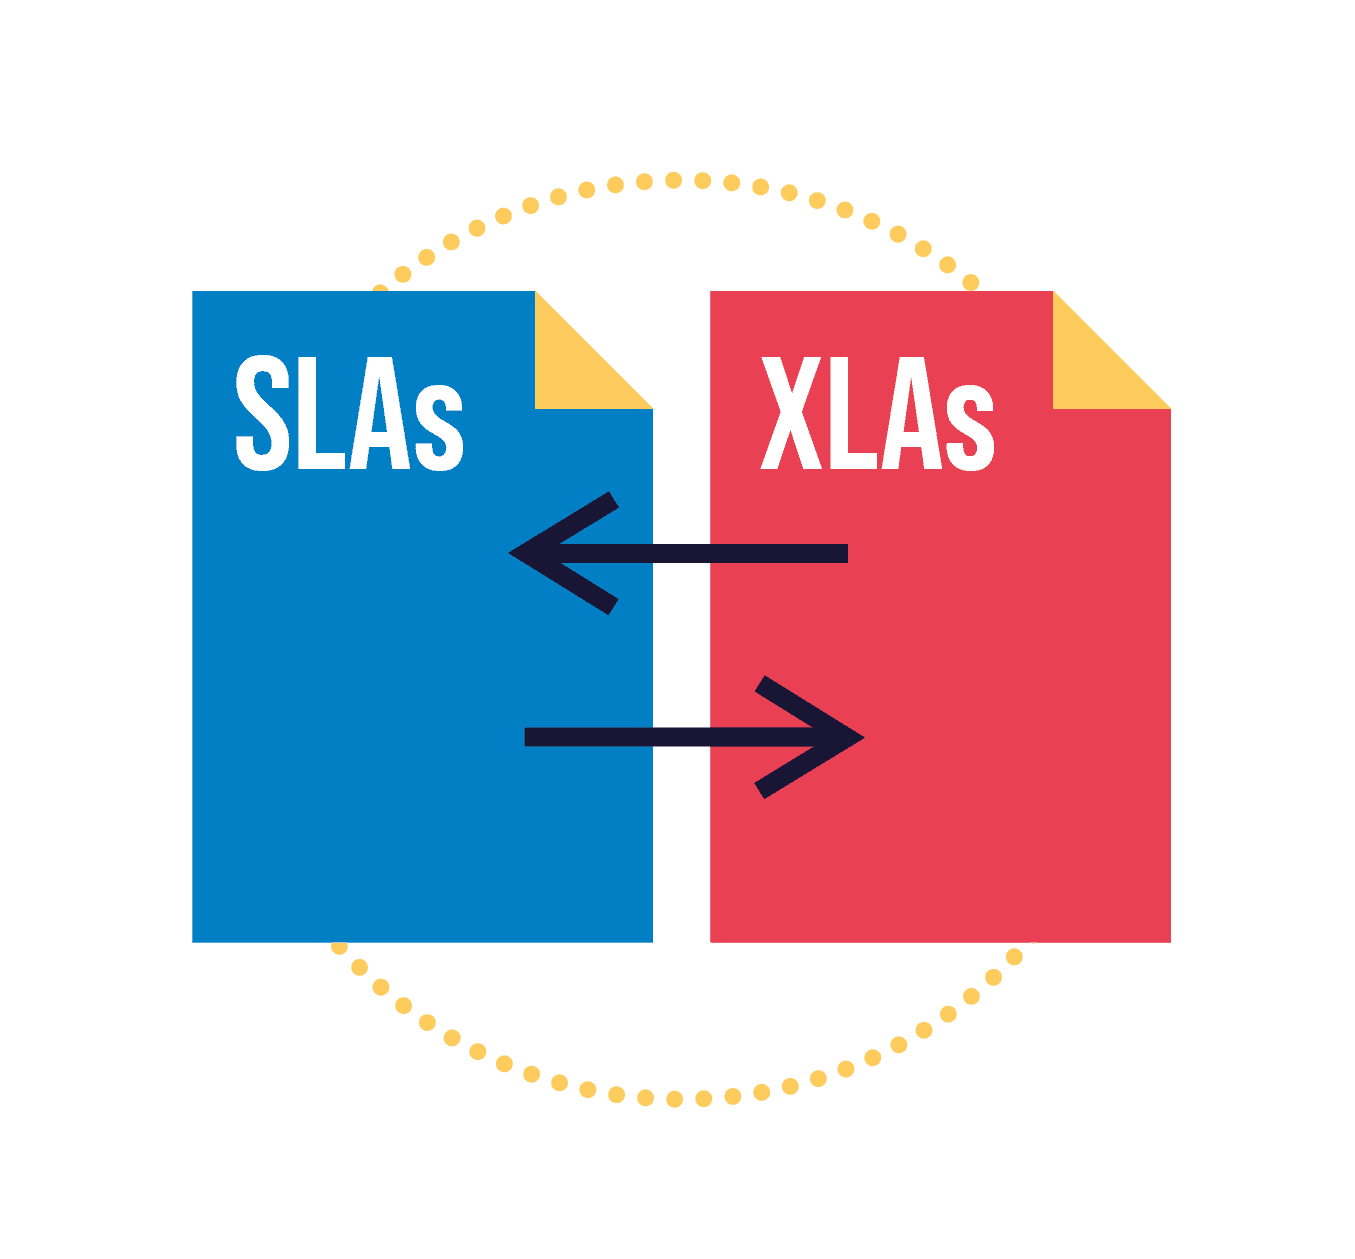
Shaping the shift from SLAs to XLAs
Elements remains at the forefront of ITSM evolution, and has anticipated the trend of moving from SLA-based metrics to integrated XLAs and experience-driven service performance.

Embedded in Jira Service Management’s core
VertygoSLA, created by the Elements team, was acquired by Atlassian and became the core SLA building block of Jira Service Management, deeply anchoring our ITSM DNA within Atlassian’s own stack.
OUR RESOURCES
Dive into our ITSM, Agile & DevOps,
and Work Management content


Introducing app editions for Elements Connect and Elements Copy & Sync
We’re excited to announce that app editions are now available for both Elements Connect and Elements Copy & Sync on
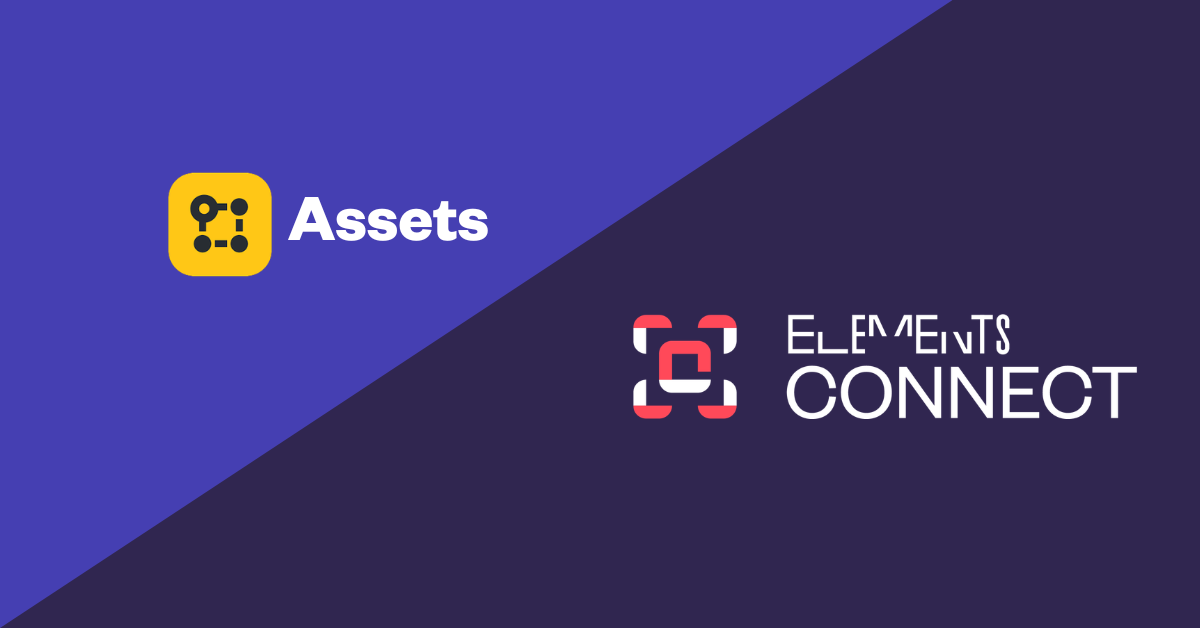
Elements Connect vs Assets
Elements Connect vs. Assets: store data or make it work in Jira? If you already know Elements Connect exists, chances
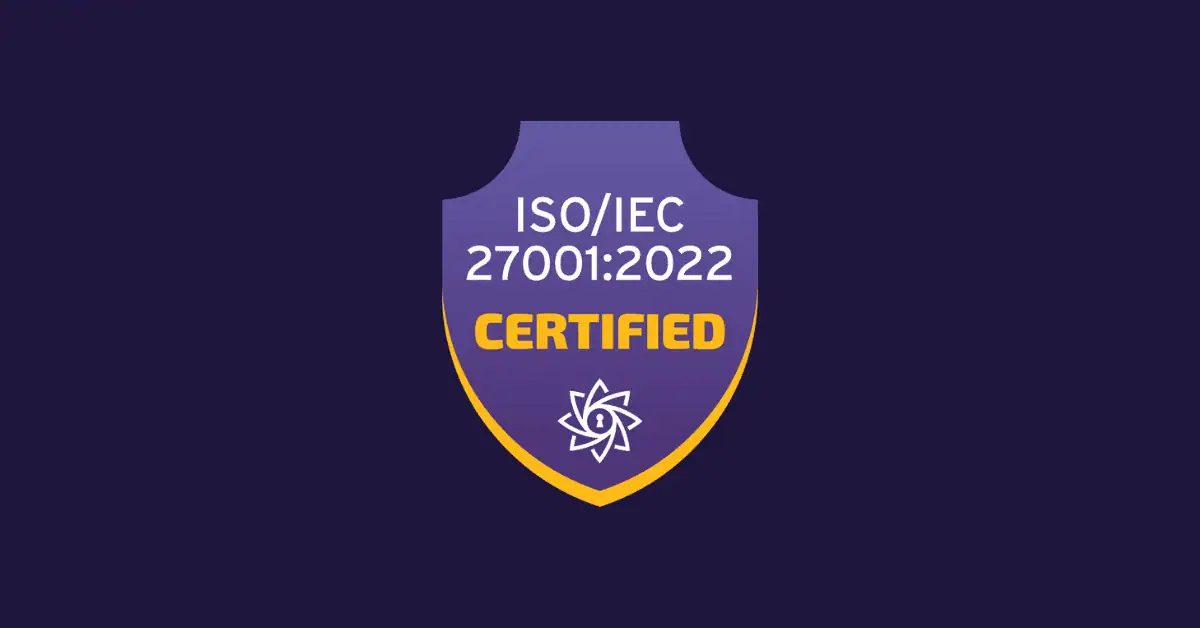
Elements is now ISO/IEC 27001:2022 certified
In the software industry, trust is a prerequisite. Two years after achieving SOC 2 compliance, Elements has reached a new
