

Elements Apps – ITSM Jira AND CONFLUENCE apps
Simplify ITSM
Amplify Satisfaction
Powering collaboration at 3500+ companies worldwide


Atlassian Apps
Our suite of smart apps makes it easy to streamline processes, automate repetitive tasks, and collaborate more effectively
Trusted by industry leaders like Apple and Oracle, Elements is your partner for unleashing the full potential of Jira and Confluence.
- #Jira
Harness the potential of Jira by seamlessly connecting it to external data sources.
Elements Connect- #Jira
Clone, move, and sync issues with effortless automation of workflows to boost collaboration.
Elements Copy & Sync- #Confluence
- #Jira
Build your customized Confluence pages instantly and integrate real-time Jira data.
Elements Publish- #Jira
Boost IT service on Jira Service Management with integrated Experience Level Agreements metrics (XLAs) and user insights
Elements Pulse- #Jira
Deliver user-centric, cost-effective services with smart service catalog insights
Elements CatalystWhy choose Elements Apps
Ready to unleash the full potential of Jira and Confluence?
At Elements Apps, we believe that great software should make your life easier. Our smart app suite maximizes Jira and Confluence’s potential. From Connect to Spreadsheet, our tools help teams at companies like Nike, Oracle, and Disney work smarter and more efficiently. Ready to transform your workflows? Let’s get started with Elements Apps.
Power up productivity
Take your productivity to the next level using Elements Apps
Elevate your team’s productivity with our Confluence and Jira apps. Our powerful suite – Connect, Copy & Sync, Overview, Publish, and Spreadsheet – help you streamline your workflows and unlock new possibilities.
- Work smarter not


harder - Automate repetitive

tasks - Collaborate more

effectively
Elements in numbers
Numbers speak louder than words
- 3500+Clients
- 35Team members
- 6Cloud Apps
- 1Amazing support team

Reviews
Why our customers choose Elements

Badges
Atlassian Badges & Certifications
At Elements, we’re proud to be a trusted maker of apps for the
Atlassian marketplace. Our team has a deep understanding of
the Atlassian ecosystem, and we’re committed to creating high-
quality solutions that help our clients achieve their goals.
Atlassian marketplace. Our team has a deep understanding of
the Atlassian ecosystem, and we’re committed to creating high-
quality solutions that help our clients achieve their goals.
Our Resources
Fuel Your Expertise : Dive into our ITSM, Agile & DevOps, and Work Management content
Ready to take your Atlassian skills to the next level? Visit our Resource Center and unlock the full potential of your Atlassian tools. Whether you’re a Jira admin or an Atlassian newbie, our collection of ITSM, Agile & DevOps, and Work Management resources will help you optimize your workflows and achieve your goals.
Unlock your Atlassian potentialUse Case
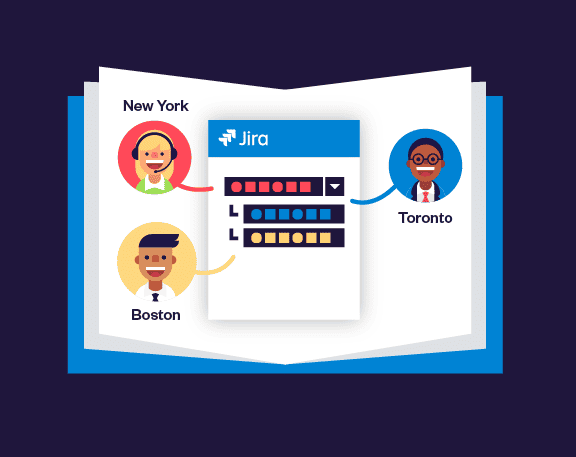
Integrate Jira and Azure AD
Give a customized view of related issues to Jira users right inside the issue. Provide actionable context and save time on issue edition.
Article
ITIL best practices for Knowledge Management
Have you ever been faced to common customer support tickets that have already been solved but not documented?