


Managing tasks efficiently is key to delivering successful projects in Jira. One powerful feature that helps break down work into smaller, manageable units is subtasks. Whether you’re tracking software development, ITSM workflows, or business operations, they are essential to keeping issues granular and responsibilities clear.
In this article, we’ll walk you through how to create a subtask in Jira using the native functionality and show you how to do it faster, more efficiently, and with better control using Elements Copy & Sync.
What is a subtask in Jira?
A subtask in Jira is a smaller task that’s part of a larger parent issue, typically a story, task, or bug. Subtasks let you divide work into actionable pieces and assign them to different team members while maintaining the overall structure of the parent issue.
Subtasks are especially useful when:
- A story needs to be split among team members.
- A change request includes multiple steps.
- An ITSM ticket involves separate troubleshooting and resolution actions.
- A task must be handled by several roles in the same project.
- You need to assign different types of work within a single objective.
- You want to break down a story into structured, trackable actions across issue types.
How to create subtasks in Jira: native method
Creating subtasks in Jira is straightforward if you’re using a project where they are enabled. Here’s how to do it:
Step 1: Open the parent issue
Start by opening the Jira ticket where you want to create a subtask. This could be a story, bug, or task depending on your project type.
Step 2: Select “Create Subtask”
In the issue view, locate the “More” menu (three-dot icon) or scroll down to the Subtasks section. Click “Create Subtask.”

If the “Create Subtask” option isn’t available, it may not be enabled in your issue type scheme. A Jira admin will need to enable it.
Step 3: Fill in details
A new subtask window will open. Here, provide:
- Summary (title of the subtask)
- Description (details about the task)
- Assignee (who should do it)
- Priority, Due Date, or any other custom fields defined in your instance
- Optionally, add a comment to provide additional context for the subtask
Click “Create” when done. The subtask is now created and connected to the parent issue. Jira will automatically nest the subtask under the main ticket so you maintain structure.
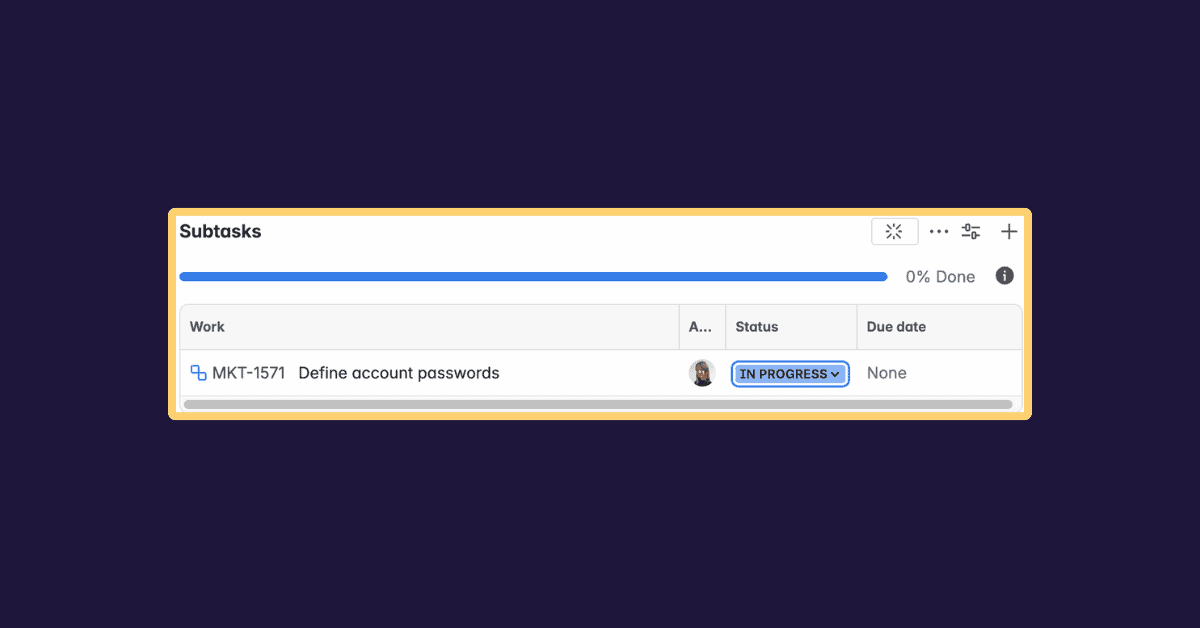
Step 4: Track your subtasks
Once created, the subtask appears in the parent issue under the “Subtasks” section. You can view, edit, or transition it independently while preserving the connection to the main ticket. Use the comment section in each subtask to track updates or clarify deliverables. You can also add internal comments to guide collaboration as work progresses.
Check Jira documentation on subtasks

Limitations of the native subtask creation
While native subtasks work fine for basic scenarios, users often run into limitations:
- ❌ No way to bulk-create subtasks based on templates
- ❌ Manual entry every time slows down recurring workflows
- ❌ No advanced control over custom field mapping or syncing
- ❌ Not ideal for ITSM or change management processes that require standardization
- ❌ Not scalable for projects with high-volume task creation needs
- ❌ No automatic comment syncing between parent and subtasks
- ❌ Cannot easily add standard sets of subtasks across similar issues
- ❌ Subtasks are limited to the same issue type, restricting flexibility when dealing with diverse work
If you’re managing large or complex projects, these limitations can lead to wasted time, inconsistencies, and extra overhead for your team.
A better way: how to create subtasks in Jira with Elements Copy & Sync
To streamline your work, Elements Copy & Sync allows you to create subtasks in Jira with templates, automation, and syncing capabilities that go beyond what’s possible natively. This ensures your tasks are consistently structured across similar workflows and types of issues.
What is Elements Copy & Sync?
Elements Copy & Sync is a Jira app that lets you automate ticket and task creation, including subtasks, and sync information between tickets. It’s designed for teams who want to optimize repeated processes, like onboarding, bug triage, or service delivery across projects. It supports all issue types, making it versatile for every project.
Benefits of using Elements Copy & Sync to create subtasks
✅ Automatically generate a set of predefined subtasks
✅ Create subtasks from templates (with descriptions, priorities, assignees)
✅ Sync comments, statuses, and custom fields between parent and subtask
✅ Trigger subtask creation based on workflows or transitions
✅ Reduce errors with consistent structure every time
✅ Improve consistency across multiple projects and tasks
✅ Keep all collaborators aligned with real-time comment updates
✅ Easily add templates to ensure recurring tasks are never forgotten
✅ Select dynamic rules based on issue type to automate tailored subtask creation
✅ Recipes will adapt to different use cases and workflow needs

Try Elements Copy & Sync for free on the Atlassian Marketplace.
One‑click subtask creation with Elements Copy & Sync
To eliminate the repetitive manual effort of creating subtasks, Elements Copy & Sync lets you define subtask templates (called “recipes”) for one-click creation, up to 25 subtasks in a single action.
Here’s how to set it up:
- In Elements Copy & Sync admin, click Create a new recipe, choose Create subtasks from a source issue, and name your recipe.
- Under the Target tab, select the number of subtasks you want (e.g., three), and define each subtask’s type and summary (you can insert parent-issue fields if needed).
- In Content, enable Set and synchronize fields, then map parent fields like Description or Priority and choose whether each subtask gets the same or unique values.
- Save and Activate the recipe, it’s now usable from any compatible issue across your project space.
Once configured, select your recipe: multiple fully initialized subtasks are created, complete with synced fields. You can even automate this by attaching the recipe as a post‑function, launching on ticket creation or transition. And with comment synchronization enabled, updates and decisions stay visible across all subtasks and the parent. Don’t forget to add tags or notes via comments to support transparency and accountability. Your team will thank you for simplifying the process.
Check the documentation on how to create multiple Jira subtasks at once.
Real-world example: subtasks for a new employee onboarding
Native way:
An IT team manually creates 4 subtasks for each onboarding issue:
- Setup workstation
- Create email account
- Assign software licenses
- Schedule welcome meeting
That’s 4 steps × every new hire × time wasted across many projects.
With Elements Copy & Sync:
An onboarding issue automatically generates those subtasks using a recipe. Field values (like assignee and start date) are prefilled, and progress on subtasks is synced back to the main issue. The use of comment fields allows managers and HR to share notes and context directly within the subtasks. You can also add workflow-specific instructions in the comment section to ensure everyone knows what to do. Once the recipe is applied, every action is structured by issue type, and users simply select from a menu of standardized subtasks.
Result: Less manual work, fewer mistakes, faster onboarding, and smoother task handling across your team.
Watch demo on how to automatically create multiple issues in Jira for employee onboarding

Conclusion: choose the right tool for the job
If you’re just getting started and need to know how to create subtask in Jira, the native solution is a great entry point. It’s simple and works well for ad-hoc task splitting and small project use cases.
But for projects involving repetitive tasks, complex workflows, or large teams, Elements Copy & Sync offers a smarter, faster, and more scalable way to create and manage subtasks. With blueprints, automation, and synchronization, including comment syncing, you’ll save time and standardize work across your organization. You’ll also have the flexibility to select the right subtask structure by issue type, ensuring every work item is handled properly.
Final tips for Jira subtasks
🛠 Make sure subtasks are enabled in your project settings
🧱 Use Elements Copy & Sync to create structured, templated subtasks
🔄 Automate subtask creation with workflow triggers
💬 Sync comments to maintain clarity across all related issues
➕ Add templates and contextual notes using the comment field
📊 Sync fields between parent and subtasks for consistent reporting
Try Elements Copy & Sync today and take your Jira subtasks to the next level.