Migrating from Jira Server / Data Center
We’re continually improving functionality, performance, and security
to provide the best possible experience for customers migrating to Cloud.

Step 1:
First, verify that all the features you need exist on Jira Cloud by checking out the Feature Comparison table.
Awareness of the feature parity between the hosting environments is essential for you to understand if your use case can be reproduced on Cloud. Some of your configurations may not yet be available, or you need to implement another solution to achieve the same that you have done in your Jira Server / Data Center environment.
Awareness of the feature parity between the hosting environments is essential for you to understand if your use case can be reproduced on Cloud. Some of your configurations may not yet be available, or you need to implement another solution to achieve the same that you have done in your Jira Server / Data Center environment.

Step 2:
Install Elements Connect on your Jira Cloud instance following this tutorial.
We recommend you take some time to evaluate the Cloud app to better understand how it works. Feel free to take a look at our documentation for configuration help and how-tos, or to reach out to our support team.
We recommend you take some time to evaluate the Cloud app to better understand how it works. Feel free to take a look at our documentation for configuration help and how-tos, or to reach out to our support team.

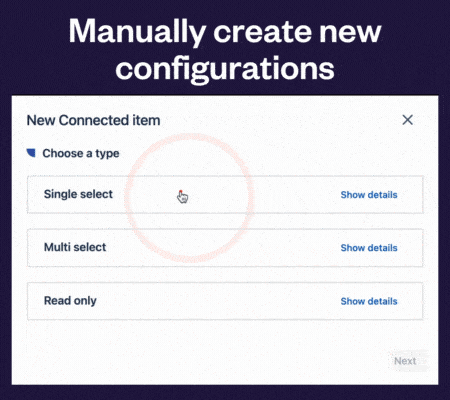
Step 3:
Manually create your configuration (datasources and connected items) in Elements Connect for Jira Cloud.

 Don’t forget to uncheck the option “Create associated mirror field”, when creating connected items.
Step 4.2:
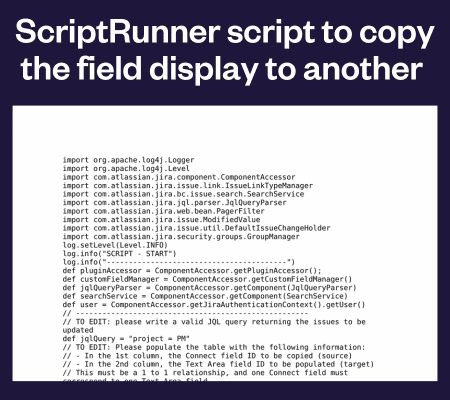
Now that your target custom fields are created, you can copy your Connect fields display to these. You can do so in two different ways:
– By using the “Copy field display to another field” post-function, or
– By running a ScriptRunner script to copy the field display to another field.
– By using the “Copy field display to another field” post-function, or
– By running a ScriptRunner script to copy the field display to another field.
Step 5:
You have two ways of exporting your Jira issues with their values:
Export your Jira tickets using the CSV exporter – the CSV file generated will be used to import your data in the next step.
Or
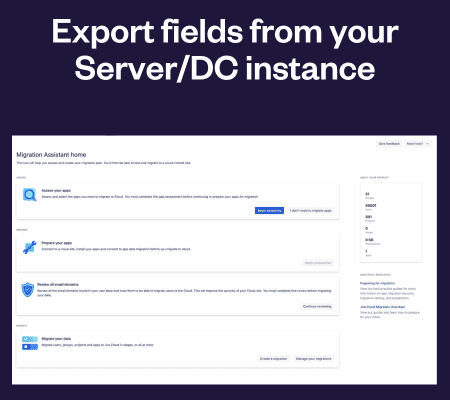
Export your Jira tickets using the Jira Cloud Migration Assistant.
Export your Jira tickets using the CSV exporter – the CSV file generated will be used to import your data in the next step.
Or
Export your Jira tickets using the Jira Cloud Migration Assistant.
Step 6:
Import the fields on Cloud:
– On your Jira Cloud instance, create as many Jira Text Custom fields as previously created on Server/Data Center
– Import the previously generated CSV file.
– On your Jira Cloud instance, create as many Jira Text Custom fields as previously created on Server/Data Center
– Import the previously generated CSV file.

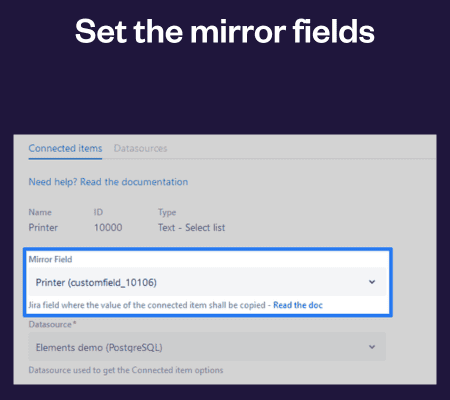
Step 7:
Set the mirror fields. For each Connected item, you need to set the mirror field accordingly. To do so, map the custom fields created in Step 4 to the right Connected item using the mirror fields.